
There are no additional workshops scheduled for the remainder of 2026
Please check back soon for the upcoming 2027 workshop schedule
New workshops will be announced as they are added
2026 Workshops
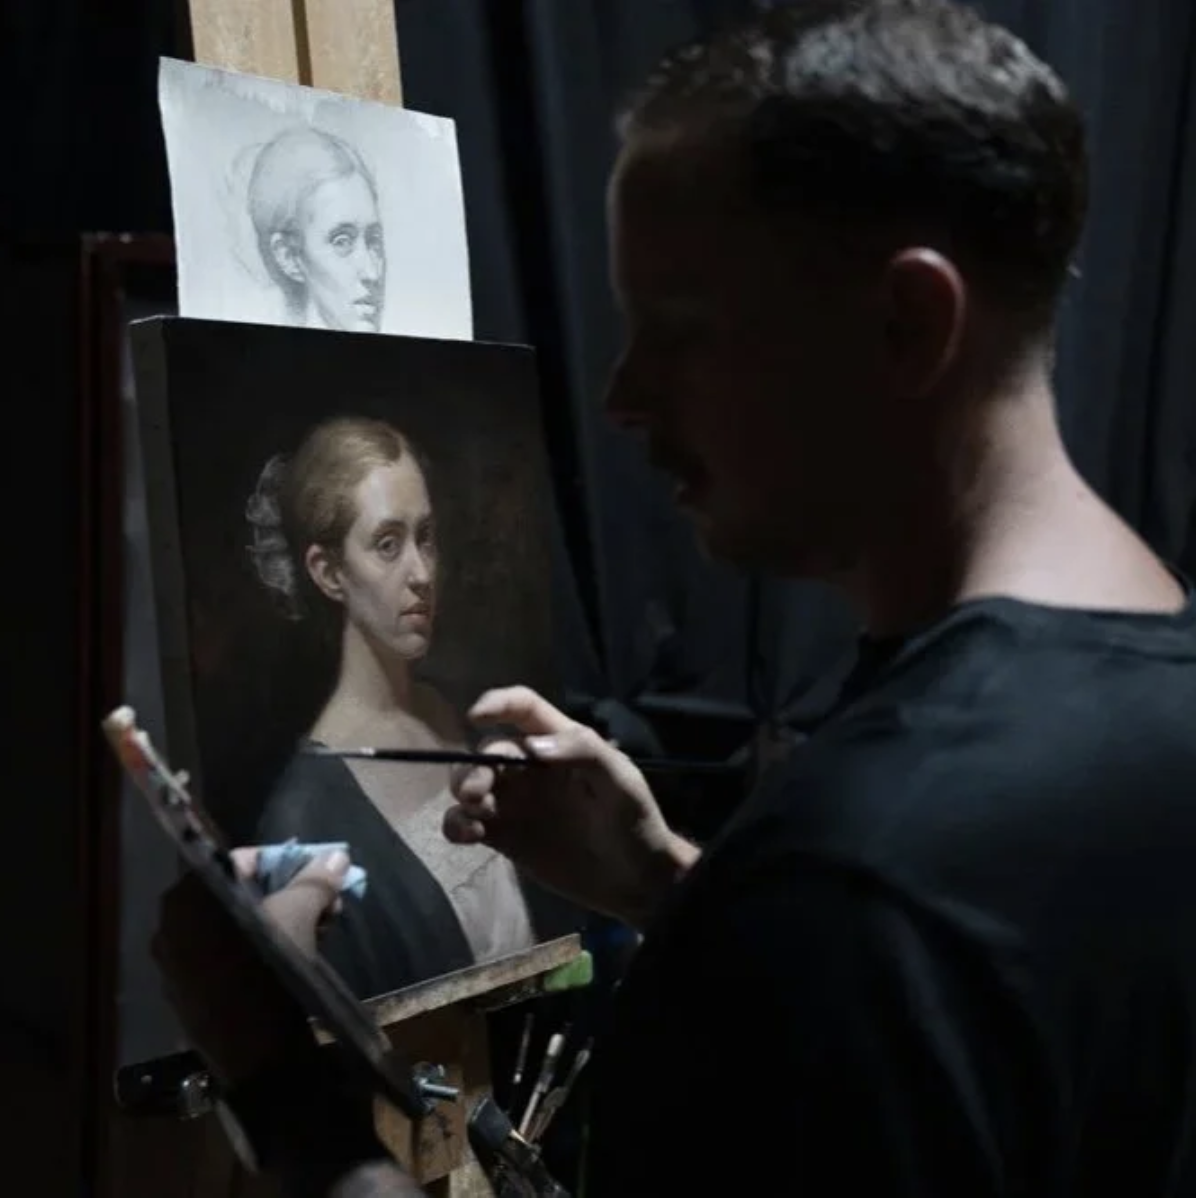
“Drawing the Portrait from Life with Mixed Media” with Scott Garder
August 3-7, 2026
9:00 am − 4:00 pm
Description:
In this 5-day intensive workshop, artists will learn fundamental techniques to capturing a likeness while drawing from a live model. Days 1 & 2 artists will emphasize a linear block-in that focuses on both the visual impression as well as the underlying structure of the skull. Day 3 through 5 artists will take their drawing to a finish with three-dimensional modeling of form, analysis of light direction, and building up the lights with gouache and white chalk. With the aid of one-on-one critiques and instructor demonstrations, participants will learn how to create a naturalistic, painterly, and volumetric portrait in 5 sessions.
About Scott Garder
Scott Garder (b. 1986) received a B.S. in graphic design and worked as a professional designer for over 10 years before studying at Grand Central Atelier. Draftsmanship and craft are central to his approach to art making, and his work conveys both conceptual truth and the beauty of the visual experience. Scott’s work hangs in collections ranging from North America, South America, Europe & Australia. Scott is now a faculty member and figure drawing instructor at the Grand Central Atelier in New York City.
Workshops take place in the GACA’s studio, located in the Pierce Arrow Building,
4814 Washington Blvd, Suite 230, St. Louis, MO. 63108
MATERIALS LIST:
- Graphite pencils (2H, H, HB, B, 2B)
- White gouache
- size 1 or 0 round synthetic brush
- White chalk pencil
- Kneaded eraser
- Hand mirror (phone screen is fine)
- Artist tape
- Sharpening block and blade
- Toned paper size 9x12, 11,14, no larger than 18x24Recommended paper but feel free to use what you find comfortable
- Fabriano:
https://www.dickblick.com/products/fabriano-toned-paper-pad
- Strathmore:
https://www.dickblick.com/products/strathmore-400-series-recycled-toned-sketch-wirebound-padsRecommended but optional
-Plumb line
- Metal skewer
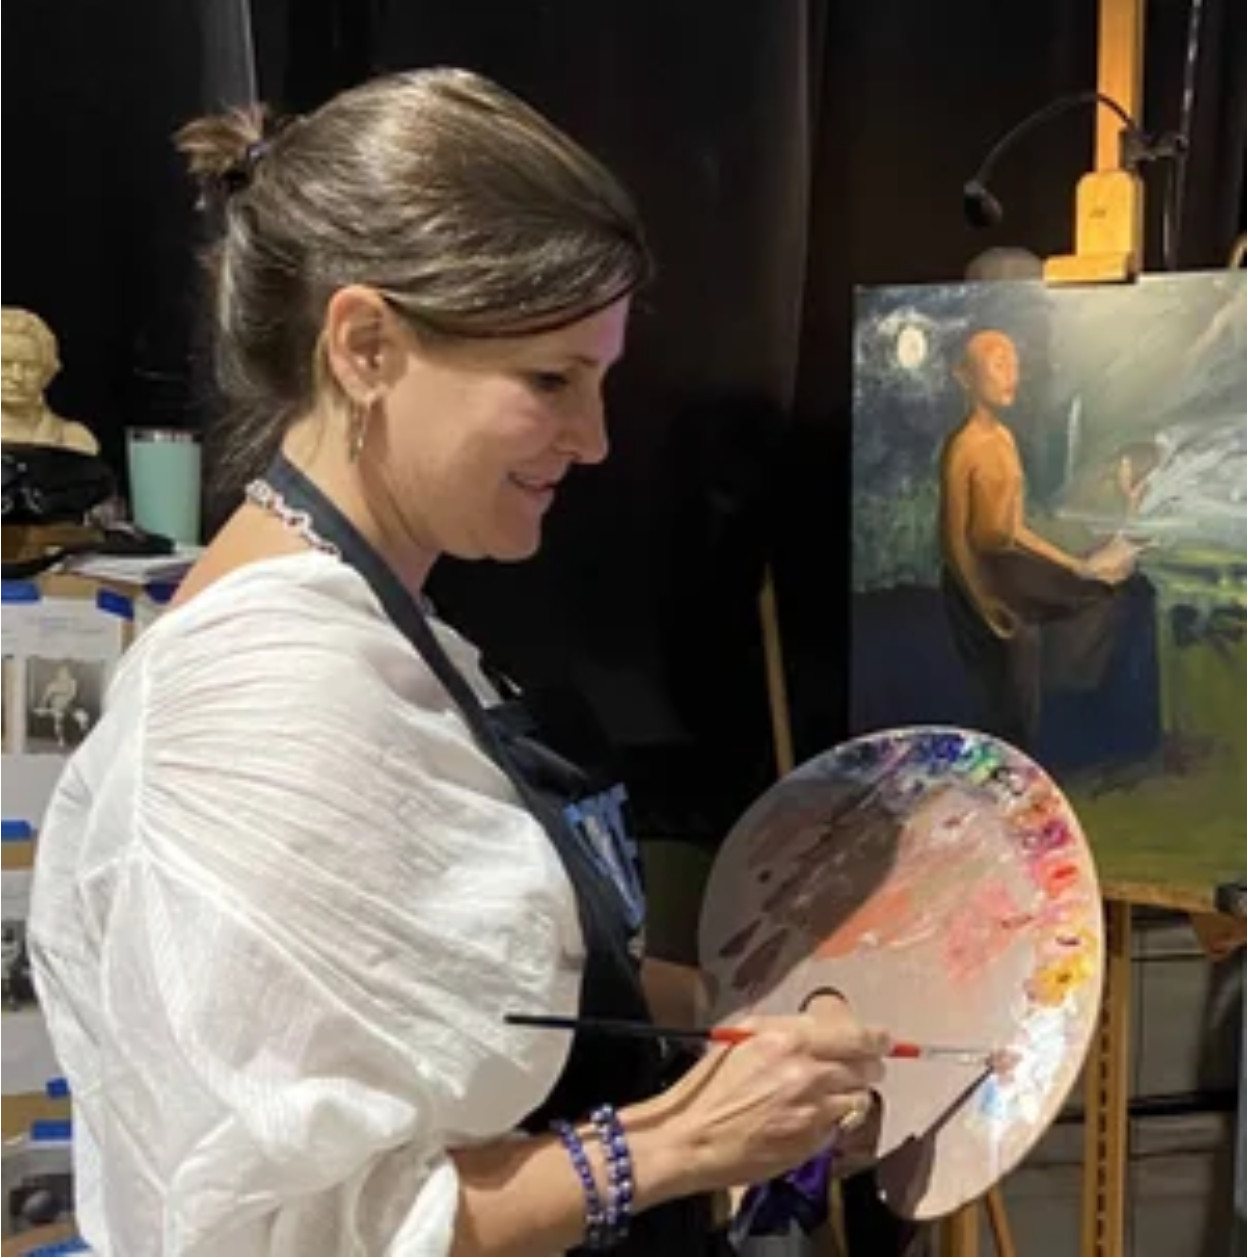
August 17-21
9:30 am to 4:00 pm
Description
There are essential skills in oil painting that every artist should understand. Over the course of five days, this workshop will guide students through five exercises that teach you fundamentals needed every time you start to sling around paint. From mixing piles of paint, viscosity and mediums, different brush types and when to use them, and different surfaces this course will guide you to not be afraid of your materials, and instead learn to understand the amazing range of applications and effects that can be created with oils.
We will work 3 days from still life subjects, and 2 days from a live model.
Five Essential Lessons:
1. Contrast and Notan - Learn how high key lights and strong shadow shapes are essential for a good composition that carries an impact.
2. Soft and Hard Edges- Learn to use various brushes, materials and mediums to get a range of lost and atmospheric passages, contrasted with bold brushstrokes that accentuate form. Subject: Still Life
3. Thick and Thin—Learn how to use opacity, transparency, and the skill of using enough paint with brushes and palette knives. I’ll show you glazing and velatura techniques as well.
4. Limited Palette Poster- Adapt the skills gained above to a one day sketch of the model, focusing on good mixtures, color and value relationships with an earth color palette. I’ll show you how to lay in a sketch quickly and “Paint out of a mush”-- that’s a technical term!
5. Chromatic Triad Poster- Using high chroma triad of primaries and a one day model pose, learn to maximize the dynamic of color, value and saturation—and learn how to keep your brushes and mixtures clean and palette in good order. We will practice “tiling” the paint to make clean shapes.
About Patricia Watwood
Born in 1971, St. Louis, Missouri, Lives in Brooklyn, NY
Patricia Watwood is a leading figure in the contemporary figurative realist movement, known for her classical paintings, drawings and portraits in oil. Her narrative subjects are primarily women with themes of allegory, myth and archetype. Her portrait of Ida B. Wells was commissioned by the Kennedy School at Harvard. Watwood has exhibited at the Beijing World Art Museum, The European Museum of Modern Art (MEAM), The Butler Museum, and is in the collections of The St. Louis University Museum of Art, and The New Britain Museum of American Art. She is the First Vice President of the Salmagundi Club of New York. Her book, The Path of Drawing, was published by Monacelli Studio Press in 2022.
Instagram @patriciawatwood Facebook @patriciawatwoodstudio
Materials List
Surfaces:
3-5 Stonehenge Oil Paper sheets: 9 x 12 inches
11 x 14 inch ( or so) drawing board to tape your oil paper down to
2 8x10 inch or 9x12 inch Linen Panels—like Raymar or Centurion. (White ground)
Paints: Professional Grade Oil Paints
White (Gamblin Flake White Replacement recommended)
Cadmium Yellow Medium
Yellow Ochre
Cadmium Red Light (Gamblin)
Alizarin Crimson
Burnt Sienna (M. Harding or Gamblin)
Ultramarine Blue
Ivory Black
Brushes
2 larger bristle (natural bristle hair) filberts size 6-10 (i.e. Rosemary Ultimate Filbert, size 8)
1-2 Medium to large (badger) fan brush, or other soft mop/fan brush
3-4 Flats in white nylon, (i.e. Rosemary Ivory Long Flat size 6 or 8) ¼ inch across up to ¾” across the ferule
2-3 gold nylon or sable brushes in filberts and flats: ¼ inch across up to 1/2” across the ferule
1-2 small rounds with a good point, like white nylon or burgundy nylon
2-3 1” chip brushes with a natural bristle ( the cheap ones from a paint or hardware store)
Other Equipment
Palette: New Wave Grey Pad 11 x 16 pad with tear off sheets, Or a similar rectangular glass or pan palette about 11 x 16 inches.
Palette knife, 2.25” diamond point shape like Holbein 1066S #41. If you own multiple palette knives, bring a few.
Medium aluminum palette cup-
Brush tank, (important!) like a Silicoil or 12+ oz. mason jar with lid--- MUST have for brush rinsing. You must have at least 8-12 ounces of solvent to use for brush washing, not a tiny cup. The lid should close tightly and not leak.
Paper towels and at least one painting rag (cut up old t-shirt)
1 qt. Gamsol (only) odorless mineral spirits—enough to refresh each day as needed.
4.2 oz bottle Gamblin Galkyd medium
Paper towels
2-3 paint rags of t-shirt material
Black artists masking tape
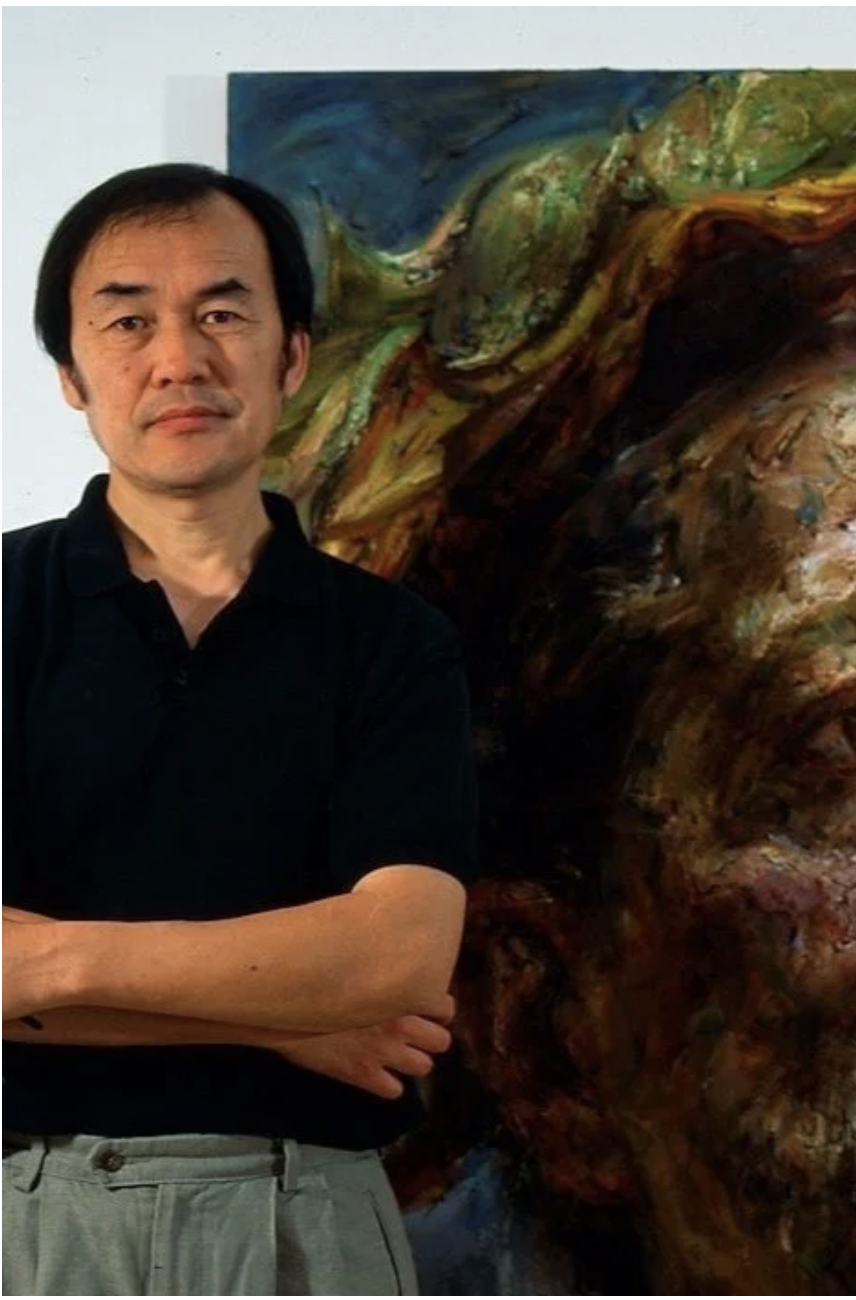
January 5 - 9, 2026
9:00 am − 4:00 pm
Description
This intensive five-day workshop will delve into the historical techniques of the Venetian master Titian, focusing on his distinctive glazing methods. Participants will gain a comprehensive understanding of the layering process, from initial underpainting to the final delicate glazes, that create the luminous and rich qualities characteristic of Titian's work. We will explore color theory as applied by Titian, the preparation of painting surfaces, and the meticulous application of transparent layers to achieve depth, form, and vibrant color. This workshop is designed for artists who wish to deepen their knowledge of classical painting techniques and develop a more nuanced approach to oil painting.
In the workshop, Victor will demonstrate how to create a grisaille of a portrait and then apply color using a glazing technique inspired by the old master Titian. This process will show students how to build a dynamic portrait through layered, luminous color.
Workshop Artist, Victor Wang
About Victor Wang
Victor Wang grew up in Northern China and graduated BFA from
The Lu Xun Academy of FineArts, one of three top art institutes in China. After graduation he taught there for 4 1/2 years and was sent to The University of Illinois at Urbana-Champaign as a visiting scholar. He earned his MFA in Fontbonne University. He currently lives in St. Louis, where he teaches painting, drawing and graduate critique classes as a full professor at Fontbonne University. He has exhibited widely across the country and internationally and has won various awards for excellence, including awards for both painting and art instruction. His work has been shown nationally and internationally.
Materials
Paints
Flake White or Flake White hue or Mixing white (Rembrandt brand)
Indian yellow, Yellow Ochre
Cadmium Red light, Alizarin Crimson
Burn Sienna/Transparent Red Ochre (Winsor Newton), Burn Umber
Phthalo green
Ultramarine Blue
Cerulean Blue
Ivory Black
Brushes:
You should have 5 or more brushes
2 Hog Brushes; #3, #6 and #10 (flat or filbert)
2 Sable Brushes/Synthetic; #4, #10(flat or filbert)
1 fan brush 1 ½” or flat wash brush
Other:
Turpenoid or Gamsol (no pure turpentine)
Neo-Megilp/Liquin
Palette Knife
Glass Palette 12" -16"
1 Shallow Tin (for solvent)
1 Stretched canvas 18” x 22”
Rags/Papertowels
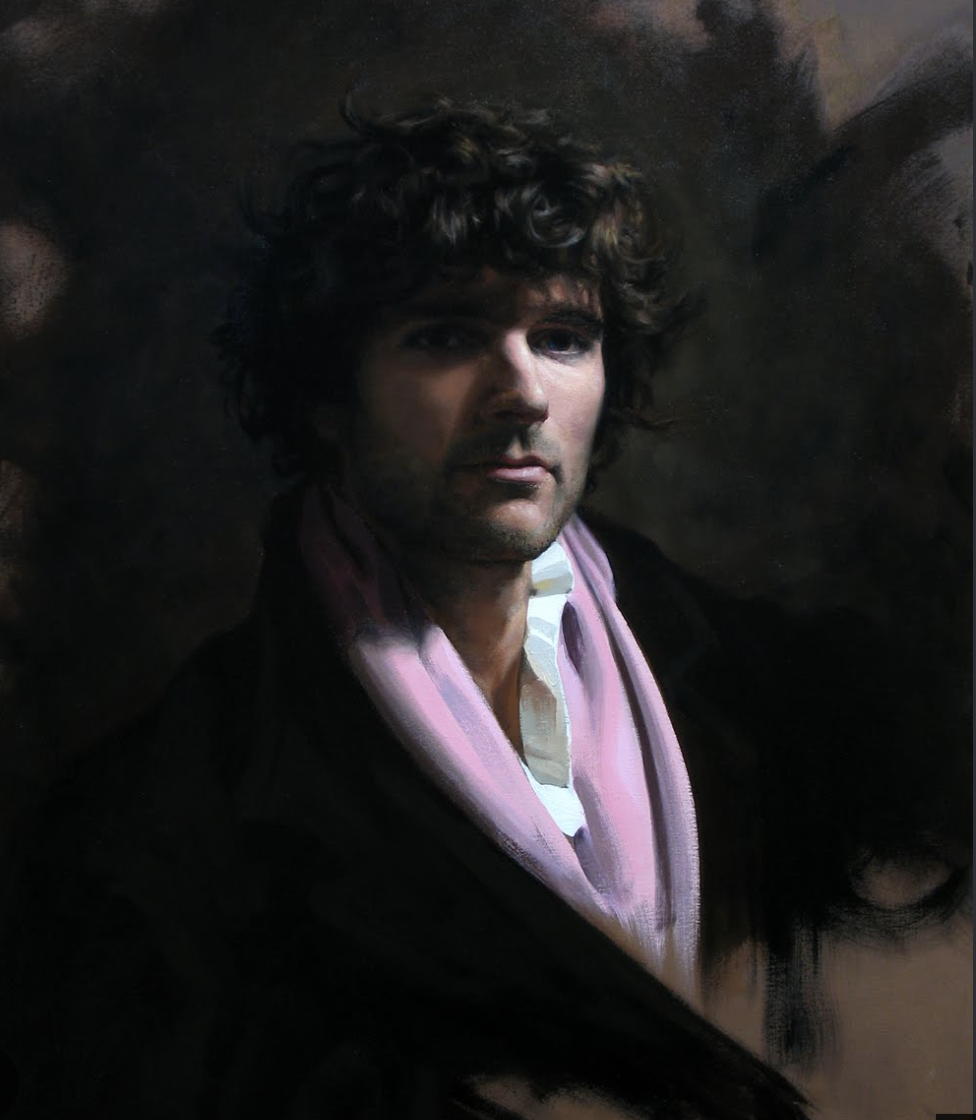
February 20-22, 2026
9:00 am to 4:00 pm
Description
In this 3-day intensive workshop Shane Wolf will teach his technique of alla prima figure painting in oil from the live model. Students will explore many short pose sketches in oil (approx 20-minute poses) as well as having longer poses of several hours for a more completed painting. Shane places a lot of importance on short studies in order for the students to better grasp the rather elusive aspects of flesh tones and value relationships of the model.
Much emphasis during this workshop will be on accurate color use, namely the understanding and execution of chroma relationships in flesh tones.
This workshop welcomes all levels of experience with figure painting in oil, and is ideal for those seeking to discover the efficiency and strength of alla prima painting.
About Shane Wolf
For more information on Shane Wolf, please visit his website at:
https://www.shane-wolf.com
Materials
Supply List:
An important note: Due to their toxicity all solvents, turpentine, Gamsol, etc are prohibited during the workshop. During this workshop brush cleaning will be done by soaking dirty brushes in linseed oil (note: buy linseed oil in the hardware store wherever they sell wood treatment products; super cheap!) then cleaned with soap and water. If you've never cleaned your brushes in this manner not only is it nontoxic but it's also quite good for the bristles of the brushes, and will save you hours of your life from having to wash your brushes regularly (trust me).
Paints (feel free to use the brands you like; just be sure that whatever brand they are they are "Extra Fine" quality and not student grade or other cheapened versions) You may recognise that these colors are often referred to as the “Zorn” palette:
Titanium white (no other white; I use either Rublev's, Old Holland, or Marin des Beaux Art's "Wolf White" (French brand, and the white is named after moi! : ))
Yellow Ochre (I use Old Holland Yellow Ochre light)
Cadmium Red (I use Old Holland "Cad Red Light")
Ivory Black (I use Old Holland)
palette (NO white disposable palettes; if you like using disposable palettes, avoid white)
medium cup(s) for those who use a handheld palette like I do (this is to correctly balance your palette, even if we are not using mediums)
palette knife
paper towels or rags
The Shane Wolf Rosemary brush set : https://www.rosemaryandco.com/the-shane-wolf-brush-set … or whatever brushes you are used to using
a small bottle of cheap linseed oil (this is for cleaning brushes)
a jar or container of some sort to soak your brushes in overnight
Note about mediums:
For this alla prima workshop we will be painting straight from the tube, so NO mediums. Not only is this a simple, fun and very direct way of painting, but also entirely avoids various toxicities of painting mediums.
•. Note about dry time and traveling with your paintings after the workshop:
In general, adding siccatives to your paint is a bad thing to do in terms of the health and longevity of your work. In a workshop setting however, it may be desirable in order to more easily travel with your finished paintings. If you so choose, feel free to bring a very small bottle of siccative (ie cobalt, manganese, or an alkyd medium).
• Canvas / Panels: all supports need to be prepared with a neutral gray imprimatur prior to class (see the following instructions):
-12 canvases or panels approximate size 35 x 25cm (14 x 10 inches). These canvas can also be part of one roll and cut up into smaller sections if you prefer.
-2 canvases or panels approximately size 60 x 50cm (24 x 20 inches) or bigger if you prefer to paint larger
-All canvases or panels can be cotton, linen, polyester, smooth, medium or heavy grain, as you prefer. Mounted to panel, stretched, loose, canvas boards… again, whatever your preference and also easy to travel with!
• Canvas preparation:
All of the canvases need to be prepared ahead of time at home with an imprimatur: a very thin, diluted coat of paint that is applied to the entire surface of the canvas. Aim for a 40 - 50% neutral gray, one that will contrast equally with darker shadow values as well as the lighter values of the figure. Naturally the true value of each student's canvas or panel will be different, and that's ok. Our goal here is to kill the white of the canvas (more on that once we are all together in the workshop).
• For the imprimatur in OIL:
A simple mixture of titanium white plus ivory black oil paint is all that is necessary for this gray. Once the proper value is mixed, dilute the paint with solvent (ie odorless mineral spirits, turpentine, Gamsol, etc) until the consistency is almost as liquid as that of house paint (this requires a lot of mineral spirits/turpentine). Using a house painting brush, scrub this paint very thinly over the totality of the canvas. Set the canvas aside for at least 5 days to dry.
• For the imprimatur in ACRYLIC:
Attention: only canvas prepared with a synthetic, universal ground can be prepared with an acrylic imprimatur; oil ground canvases cannot (If you're not certain if your canvas has a universal or oil ground, it is most likely a universal ground. Oil ground canvases are becoming a rarity, thus the far majority of canvases bought in mainstream art stores are universal ground.). The application process is the same as mentioned above, except the paints are acrylic and the mixture is diluted with water instead of with a solvent. Dry time is reduced to just a few hours instead of days.
July 13 - 17
9:30 am to 4:00 pm each day
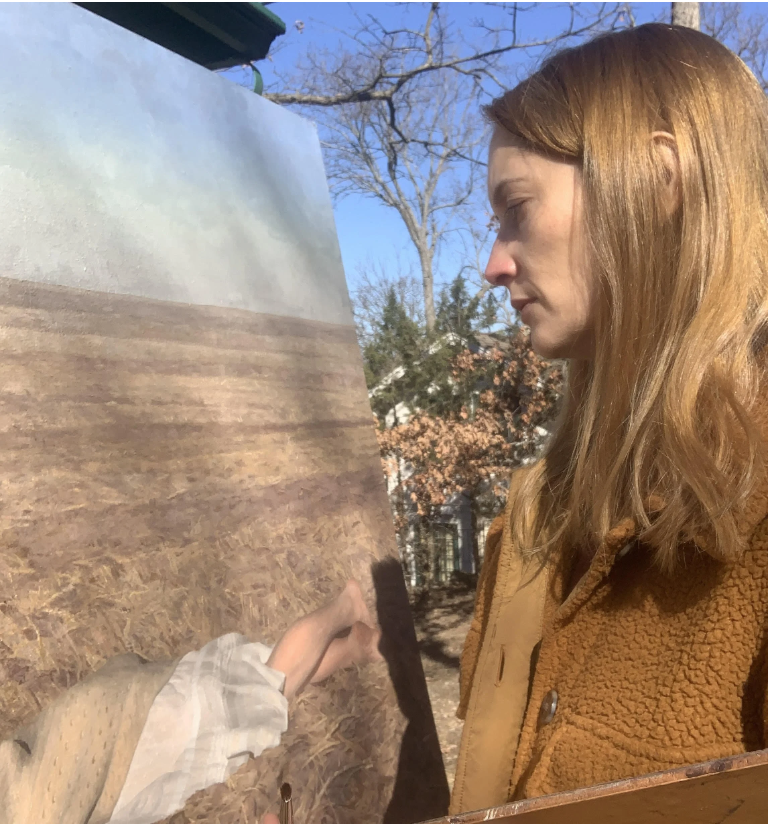
“The Outlaw” by Anne Herrero
This five day class will address the process of painting a portrait to develop a compelling image, spanning the fundamentals of drawing to character development and image strength. Participants will initially draw a linear block-in in graphite that establishes a one-to-one visual equivalence through a strong articulation of gesture, proportion, and perspective. After transferring their block-ins to linen, artists will paint the portrait form by form. In moving back and forth between optical and conceptual approaches, participants can choose to continue working with a close fidelity to nature or they can introduce more source material and push their portraits in narrative or emotive directions through the dramatization of light-effect and expression. Anne will offer guidance through demonstrations, critiques, and conversations about anatomy, Munsell color theory, the physics of light, paint handling, and visual hierarchies.
Beginner to advanced painters welcome; some previous experience oil painting recommended.
Core Learning Outcomes
1. Students will learn to capture the proportion, gesture, and perspective of a portrait in a linear block-in 2. Students will learn how to apply the basics of the Munsell color system to the window shading method
of painting
3. Students will learn to create a consistent and compelling light effect
4. Students will learn to identify and capture emotive and dramatic opportunities while painting the
portrait
Schedule:
Day 1: Block-In and Transfer
Introduction to Class. Discuss set-up and linear straight-line block in process. Decide on design and composition of image. Set-up your portrait considering light effect and ease of working. Begin block-in by finding abstract shapes, measurements, and tilts to establish proportion, gesture, and perspective. Work optically and mechanically. Discuss refinement of block-in. Introduce geometric solids and basic anatomy of the skull to complete block-in. Refine big shapes of early block-in to address the way shapes interlock and sit in space, to establish weight in curves, to build a convincing anatomical structure, and to get specificity. Continue to work optically, but introduce conceptual modes of anatomy and structure as well. Transfer drawing to canvas if done with block-inTone canvas to a neutral color of raw umber in preparation for painting if you have not done so already.
Day 2: Color Theory, Forehead, and Hair
Introduce Munsell color theory language: hue, value, chroma. Introduce physics of light. Discuss palette and palette set-up. Finish block-in if you have not already. Paint a conceptual sphere the color of the model’s flesh. Using your sphere as reference, paint forehead and hair.
Day 3: Nose and Muzzle
Continue painting the forehead and hair. Discuss the strategy of choosing five paintings or less to consult while working and move your painting in these directions by making similar color, light, and handling decisions. Paint nose and muzzle. At the end of class, introduce background color or colors using brushy marks. In small portraits, I usually like to have background forms of trees, clouds, or fields. Simple choices of a sunset or night sky are also options. Since time is limited, think about where you would like to focus and what that means for your paint handling and the background.
Day 4: Sides of Face, Ears, and Neck
Continue or finish painting nose and muzzle. Begin to paint sides of face, ears, and neck. As you work your way down the neck and into the shoulders and ribcage, experiment with looser handling. Begin finding forms in the brush marks of your background that support your portrait
Day 5: Form Modeling and Background
Continue painting sides of face, ears, and neck. Bring some detail and description into the background forms or introduce a glaze to strengthen light effect.
MATERIALS LIST
Drawing Supplies:
-Drawing board
-Strathmore 400 series 11” x 14” drawing pad
-HB pencils from Staedtler or TomBow
-Gray kneaded eraser
-Tombow Mono Zero eraser
-Standard X-acto blades and knife
-sandpaper block for sharpening pencils
-blue ballpoint pen
-thin knitting needle or skewer
-washer and thread to make a plumb bob
-handheld mirror
-concave and convex lenses
-vine charcoal
-sepia Micron pen for transfer
Painting Supplies:
-Paints:
Lead White ground in linseed oil, Yellow Ochre, Raw Sienna, Burnt Sienna, Red Umber,
Cadmium Red or Genuine Vermilion, Alizarin Crimson, Raw Umber, Terre Verte, Gamblin Van Dyke Brown
Brushes:
-#1-12 Rounds Sable or Synthetic. I usually use both #10 and #12 Blick Sables, primarily 12. I would recommend getting three or four sables and one or two bristles. Rosemary is also a good option.
-#2-6 Bristle filbert (these can be from Rosemary or Princeton)
-bring brushes that you like and are familiar to your hand
-palette knife
-Wood Palette - make sure it is prepared or sealed. I have had the New Wave Highland palette, natural stain for years. I prefer the rectangular format so that I can mix numerous strings of color and keep them organized. I also prefer the natural or brown stain because I work on warmer grounds.
-Oleogel from Rublev Natural pigments
-Small container to hold linseed oil
-Small bottle of linseed oil
-Small bottle of vegetable oil.
-glass jar with lid for vegetable oil
-the masters brush cleaner (or soap or whatever you regularly use)
-Viva paper towels-gamsol (we will only use this to tone our canvases)
-Panel or linen canvas, size 11” x 14” toned to a light brown with a raw umber imprimatura (you can use gamsol to thin the paint). I often work on this size because it offers enough room to develop a landscape while keeping the central focus on the portrait. I prefer Claessens 13 or Claessens 12. Centurion is also an affordable option. Please ensure you have an oil ground as your surface.